
Popping a Google map onto your website is surprisingly simple. For most people, it's a matter of copying a small snippet of HTML code from Google Maps and pasting it right into their site’s editor. This technique is called an iframe embed, and the best part is you need absolutely zero coding knowledge to do it. You can have an interactive map on your "Contact Us" or "Locations" page in just a few minutes.
Why Bother with an Embedded Google Map?
Think of adding a map to your site as more than just a handy feature for visitors; it’s a smart business move. At its core, an embedded map makes life easier for your potential customers. They can find your shop, get directions, and plan their visit without ever having to click away from your website. That small convenience keeps them on your page and engaged with your brand for longer.
It’s also about trust. When someone sees a professional, interactive map showing exactly where you are, it instantly signals that you’re a real, established business. That little detail can be the difference that turns a hesitant browser into someone walking through your door. It's a powerful visual cue that says, "We're here and ready for you."
Boost Your Local Search Visibility
One of the biggest wins from embedding a Google map is the direct boost it gives your local search engine optimisation (SEO). When Google's bots crawl your site and find that map, it sends a crystal-clear signal about your physical location and your relevance to local searches.
This simple integration helps Google link your website directly to your Google Business Profile, creating a much stronger, more unified online presence. For any local business, this is a game-changer. It’s a crucial piece of the puzzle that helps you show up in that all-important "map pack" at the top of search results. There are so many local SEO benefits for your business that spring from this one action, driving both web traffic and real-world footfall.
By providing clear geographical context, you're not just helping users—you're telling search engines exactly where you operate, making you a more relevant result for "near me" searches.
A Standard for Modern Businesses
Let's be honest, an embedded map is now an expected feature. Not having one can make a business seem a bit behind the times. In the United Kingdom alone, a massive 41,339 websites are actively using the Google Maps Embed service. This widespread adoption shows just how much UK businesses value it for sharpening their digital presence.
If you're just starting out, a great first step is making sure you’re properly listed. Our guide on how to put my business on Google Maps walks you through the entire process.
Choosing the Right Google Maps Embedding Method
Deciding how to get a Google Map onto your website isn't a simple one-size-fits-all situation. The best approach really hinges on what you need the map to do, how comfortable you are with code, and your budget. Making the right call at the start will save you a lot of headaches down the line.
You’ve essentially got three main routes to go down: the super-simple iFrame, the powerful Maps JavaScript API, and the user-friendly world of third-party plugins. Each has its place. A local bakery just needs a pin on its contact page, whereas a national estate agent needs a fully interactive map showing hundreds of properties. Their needs are worlds apart, and so is the right solution.
Let's break down these options to figure out which one makes the most sense for you.
The Quick and Simple iFrame Embed
The iFrame method is, by far, the fastest way to get a map live. You just find your location on Google Maps, copy the HTML snippet they provide, and paste it straight into your website editor. No coding needed. You can have it done in two minutes.
This is the perfect choice for anyone needing a basic, no-fuss map. I'm talking about small business owners, bloggers pinning their favourite travel spots, or a community centre showing its address. If all you want to do is show a single spot with standard zoom and directions, the iFrame is your best mate.
The flip side is that its simplicity is also its weakness. You have almost no control over how it looks or works. Forget about custom markers, unique map colours, or plotting multiple locations – the iFrame just won't do it.
The Powerful JavaScript API
For complete control over every pixel, the Google Maps JavaScript API is the way to go. This approach lets you or your developer build a map from scratch, tailoring every single element to your needs. You can recolour the map to match your brand's palette, use your logo for the map pins, or build something complex like a dynamic store finder.
This is the go-to for bigger businesses, e-commerce sites with dozens of stores, or any project where the map is a core part of the experience. Think of a property portal displaying all its listings or a logistics company showing its delivery network. The API makes that possible.
The trade-off? It's more complex and can come with a cost. You'll need some JavaScript and HTML know-how. It also means setting up a Google Cloud project, managing API keys, and keeping an eye on your usage. While Google gives you a generous free monthly credit, high traffic can lead to billing.
The User-Friendly Plugin Approach
Finding a happy middle ground between the simple iFrame and the complex API are third-party plugins and widgets. These are incredibly popular for platforms like WordPress and Shopify, offering a great balance of features and ease of use.
A good plugin lets you add multiple locations, upload custom icons, and tweak map styles, all through a simple dashboard – no code required. This makes them a fantastic choice for businesses that need more than an iFrame but don't have the budget or need for a bespoke API integration. A restaurant chain wanting to show all its branches on one map could get it done quickly and cheaply with a plugin.
To help you decide, here's a side-by-side comparison of the three main methods for embedding Google Maps. This should make it clearer which one is the best fit for your project's needs.
Comparison of Google Maps Embedding Methods
| Method | Best For | Ease of Use | Customization Level | Cost |
|---|---|---|---|---|
| iFrame | Simple, single-location maps (e.g., contact pages, blog posts). | Very Easy | Very Low | Free |
| Maps JavaScript API | Highly custom, interactive maps (e.g., store locators, real estate listings). | Difficult (Requires Coding) | Very High | Free tier, then usage-based |
| Third-Party Plugins | Multi-location maps and moderate customisation without code (e.g., chain stores). | Easy | Medium | Free or Paid (one-time/subscription) |
Ultimately, the goal is to pick the tool that gives you the functionality you need without creating unnecessary work or expense. For most, starting with an iFrame or a plugin is the most practical path.
This flowchart neatly shows how adding a map isn't just a technical task; it's a decision that can improve user experience, build trust, and even boost your SEO.
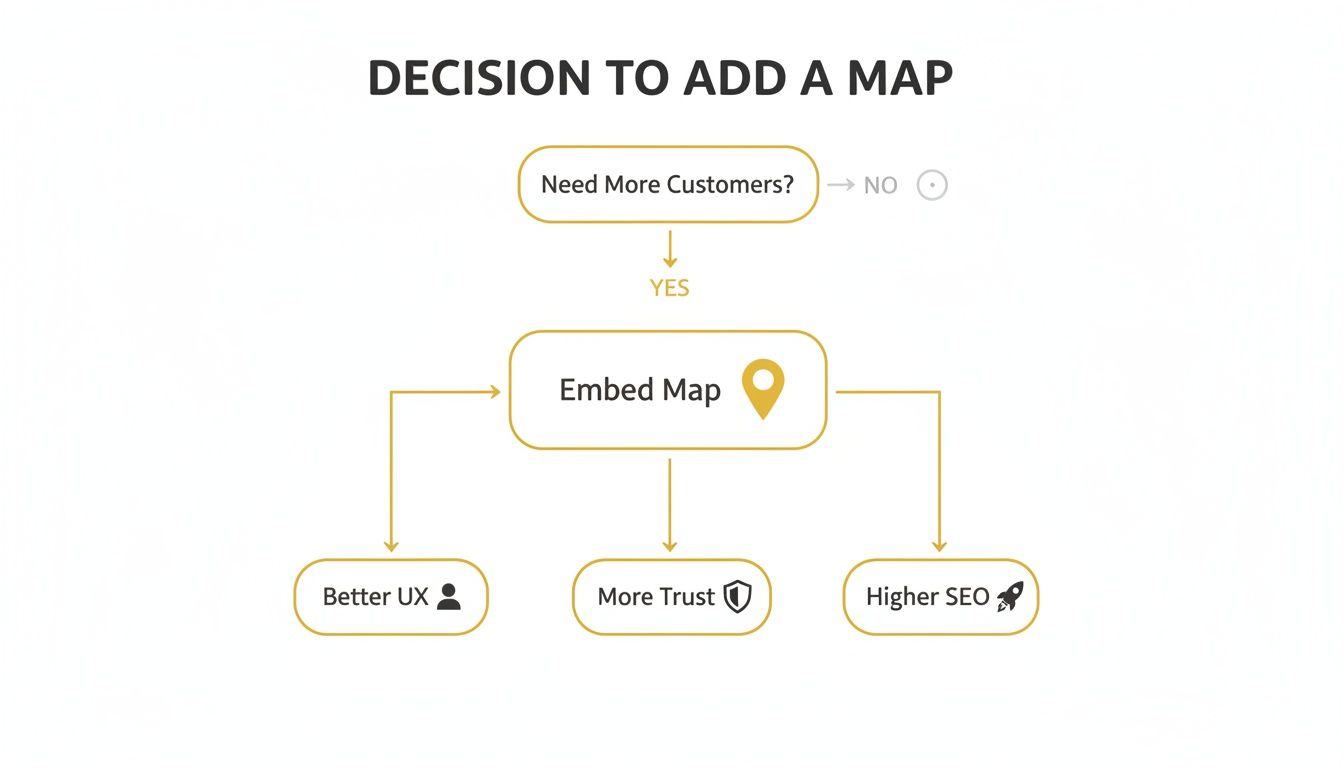
The key takeaway here is that even a simple embedded map can set off a chain reaction of positive outcomes that directly help your business grow.
How to Embed a Map with a Simple Iframe
If you just need to get a map onto your website quickly and without any fuss, the simple iframe method is your best friend. Honestly, it's the most direct way to do it. We're talking a straightforward copy-and-paste job that requires zero coding knowledge, making it perfect for dropping a map onto your contact page or into a blog post.
You can have a fully interactive map live on your site in just a few minutes. This approach is wildly popular because it’s free and incredibly easy. You’re essentially just embedding a small window on your page that shows the live Google Maps interface. Your visitors can pan around, zoom in, and even get directions, all without ever leaving your site.
Generating Your Iframe Code
First things first, you need to get the code snippet from Google Maps itself. It's a quick process.
- Head over to Google Maps and type the address or location you want to show into the search bar. Let's use "The British Museum" in London as an example.
- Once the location is pinned on the map, look for the Share button and give it a click.
- A little window will pop up. In this window, you'll want to switch from the "Send a link" tab to the Embed a map tab.
- You'll see a preview of the map and an HTML code snippet right there, starting with
<iframe.... Just hit the COPY HTML button.
And that's it. You've got the code you need sitting on your clipboard, ready to go.
Pro Tip: Before you grab the code, you can pick a map size. Google gives you a few presets like Small, Medium, or Large, but there's also a Custom option. I find that Medium is usually a solid starting point, but you can always fine-tune it later.
Here's what that "Embed a map" screen looks like in action. You can see the exact spot where the iframe code is generated for you.
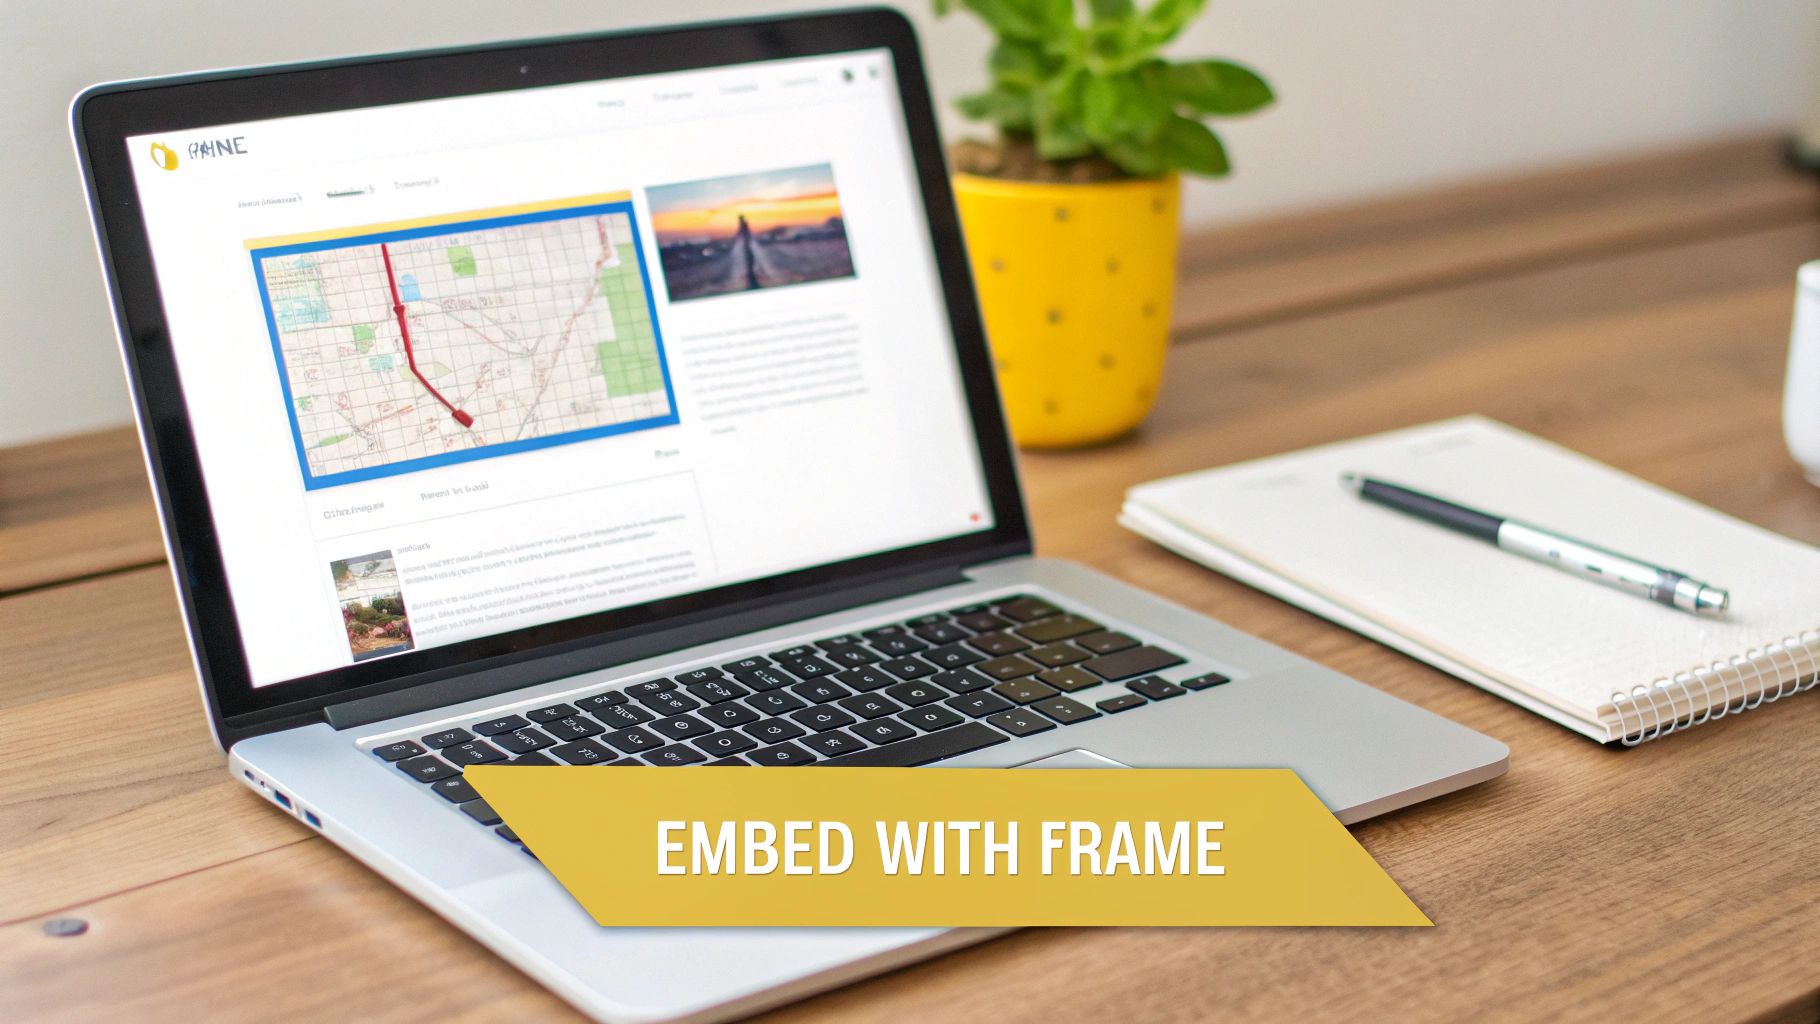
This screenshot shows you the "Embed a map" tab where all the magic happens.
Placing the Map on Your Website
With the code copied, the final step is to paste it into your website. Whether you're using WordPress, Shopify, or another platform, the process is pretty similar.
You'll need to find a way to add custom HTML. Look for an option called an HTML block, a code snippet, or switch your editor to the "text" or "code" view. Find the right spot on your page, paste in the iframe code you copied, and hit save or publish. Your map should appear right away.
Adjusting the Map Size
What if the default size doesn't look quite right with your site's design? No problem. Tweaking the map's dimensions is simple and can be done right in the code you just pasted.
Take a look inside the iframe code for the width and height attributes. They’ll look something like this: width="600" height="450".
You can change these numbers to whatever you need. If you want a wider map, you could change the width to "800".
For a map that looks great on any device, I highly recommend making it responsive. To do this, simply change the width attribute to width="100%". This small tweak tells the map to fill the entire width of whatever container it's in, ensuring it adapts perfectly from wide desktop screens to smaller mobile phones.
Unlocking Custom Features with the Maps JavaScript API
While a simple iframe gets the job done for basic needs, there comes a point when "good enough" just isn't. When your brand identity is crucial or your map needs to do more than just show a single pin, it's time to get serious with the Google Maps JavaScript API. This is where you can truly take control and craft a map that feels like an integral part of your website, not just a tacked-on widget.
Using the API takes you from a simple copy-and-paste job to actively building the map with code. This opens up a whole world of possibilities for embedding Google Maps on a website in a way that aligns perfectly with your brand and what your users actually need. It’s the go-to solution for businesses that want their map to be a unique, branded experience.
Think of custom store locators, visualising property listings with unique icons, or plotting an entire network of service locations with precision and style. That's the power you unlock here.
Getting Started with Your API Key
Before you can write a single line of JavaScript, you’ll need to get an API key from Google. This key is your unique identifier that tells Google it’s you making the requests and, frankly, who to bill. Getting set up involves a few clicks in the Google Cloud Platform.
- Create a Google Cloud Project: If you don’t have one already, you'll need to set one up. This acts as a container for all your API settings, credentials, and billing info.
- Enable the Maps JavaScript API: Inside your project, you have to specifically search for and enable the "Maps JavaScript API" service. This essentially flips the switch, giving your project permission to use this particular mapping tool.
- Generate Your API Key: Once enabled, you can generate a new API key. It'll be a long string of random-looking characters that you'll need to copy and paste into your site's code.
It's also essential to set up a billing account. Don't let that scare you off; Google provides a generous $200 free monthly credit for its Maps Platform services. For most small to medium-sized businesses, this is more than enough to cover typical website traffic, but having a billing account on file is a requirement to activate the key.
Implementing a Custom Map
With your key ready, you can get to the fun part: building the map. The core of it involves two pieces: a <div> element in your HTML that acts as a container, and a JavaScript snippet to bring it to life.
Here’s a look at the basic HTML structure you'd use:
Our London Office
<script src="https://maps.googleapis.com/maps/api/js?key=YOUR_API_KEY&callback=initMap" async defer></script>
<script src="map-script.js"></script>
See that `
`? That’s exactly where our map is going to appear. The `


