
Before you even think about code or no-code builders, let’s talk strategy. Building a widget is a lot like building anything else: a solid plan is the foundation for success. Without one, you're just creating digital clutter that can slow down your site and frustrate visitors. The whole point is to create something that genuinely helps your audience or achieves a specific business goal.
Defining Your Widget’s Purpose and Scope
So, where do you start? The very first question to ask yourself is, "What problem am I trying to solve?" This single question will steer every decision you make, from the features you include to the design choices. Are you trying to capture more leads? Show off customer reviews? Maybe you need to display live stock levels? Pinpointing this purpose from the get-go is the best way to avoid "feature creep"—that all-too-common trap of adding bells and whistles that just complicate things.
Identify the Core Problem and User Journey
Let's walk through a real-world scenario. Say you run an e-commerce shop, and you've noticed a lot of people are abandoning their carts. That's your problem. A potential solution could be a "Recently Viewed Items" widget that subtly reminds shoppers of products they've shown interest in.
Once you have an idea, you need to map out how a visitor will actually interact with it. Visualising this user journey is key. For our e-commerce example, it might look something like this:
- A visitor lands on a product page. This action triggers the widget to log the item.
- As they continue browsing other parts of your site, the widget pops up in the sidebar, displaying a small thumbnail of the product they just viewed.
- If they click on the item in the widget, it takes them straight back to that product's page.
See how that simple flow clarifies exactly what the widget needs to do? This kind of planning makes the actual building process infinitely smoother.
Set Realistic Boundaries and Features
With a clear purpose in mind, it's time to decide on the essential features. It’s always tempting to throw in every cool feature you can think of, but honestly, less is often more, especially for the first version. For our "Recently Viewed" widget, the must-have features are pretty straightforward: it needs to track viewed products, display them clearly, and link back to the correct pages. That’s it.
A great widget is defined not by how many features it has, but by how well it executes its primary function. Simplicity and focus are your greatest assets during the planning phase.
Resist the urge to add complex extras like price-drop alerts or social sharing buttons right away. You can always iterate and add those later based on actual user feedback and data. Sticking to a disciplined, focused approach ensures you end up with a functional tool that people will actually find useful. For more ideas on enhancing your website and marketing efforts, you can explore the latest trends and strategies in our other articles.
Choosing Your Build Path: No-Code vs. Custom Code
With your widget's purpose locked in, you’ve hit a crucial fork in the road. How are you actually going to build this thing? It really comes down to two main paths: using a no-code platform or diving into custom coding. This isn't just a technical choice; it will define your project’s timeline, budget, and what's possible down the line.
Your decision here impacts everything from upfront costs to long-term upkeep. Let's dig into what each path looks like so you can pick the one that truly fits your goals and resources.
The No-Code Revolution: Speed and Simplicity
No-code widget builders are all about speed and accessibility. Platforms like Elfsight let you create, tweak, and launch a widget, often in less than an hour, without touching a single line of code. For small teams or anyone needing a solution right now, this is a total game-changer.
The biggest win here is the incredibly low barrier to entry. You just pick a widget type, like a social feed or a contact form, link your data, and use a visual editor to match your brand's colours and fonts. It's that simple. If you do go the no-code route, getting a handle on good low-code builder UX design will make sure your final product is actually a pleasure for people to use.
The real power of no-code is that it puts the tools in everyone's hands. It lets non-developers build and launch functional web elements, freeing up your technical folks for the really hairy, complex challenges. It's all about getting from idea to live with as little friction as possible.
But, of course, that simplicity comes with trade-offs. You're pretty much stuck with the features and customisation options the platform gives you. They can be extensive, but they might not cover that one unique, killer feature you have in mind.
The Custom Code Approach: Ultimate Flexibility
On the other end of the spectrum is building it yourself with HTML, CSS, and JavaScript. This path gives you complete, unlimited creative freedom. It's the only way to build a truly one-of-a-kind widget that does exactly what you need it to do.
When you custom code, you aren’t boxed in by a template gallery or a pre-set list of features. You control every single pixel, every interaction, and every bit of data. This is absolutely essential for widgets that need to plug into specific internal systems or perform highly specialised tasks.
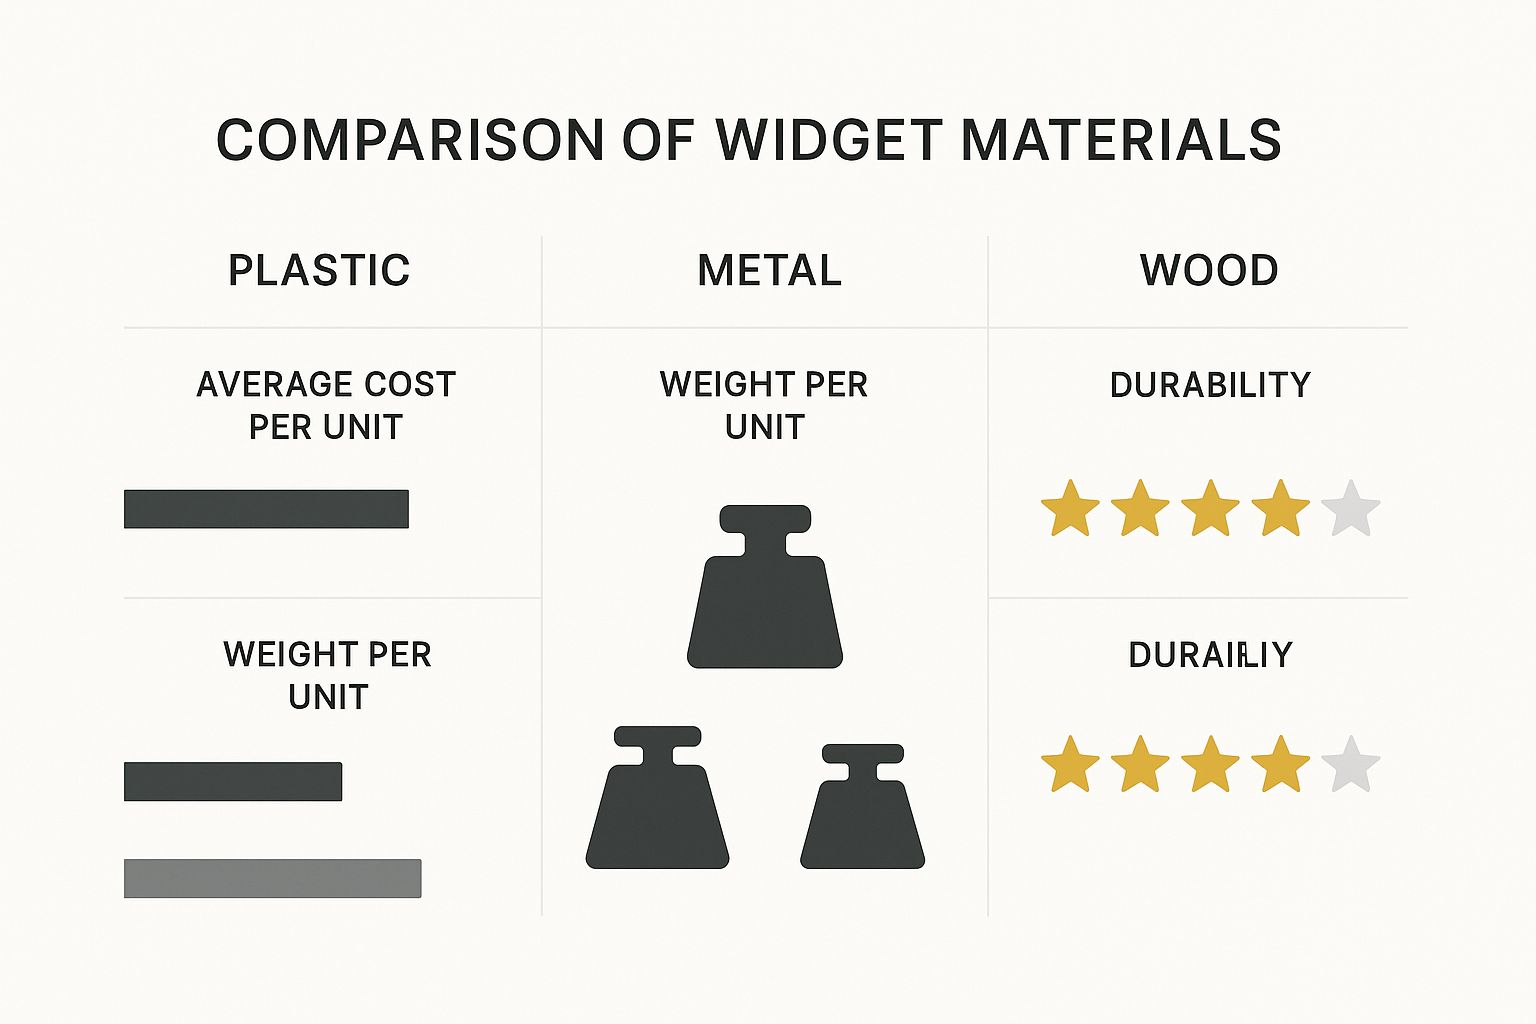
The image above draws a parallel with physical materials, and it's a great way to think about it. Just like choosing wood over steel has consequences, your choice of digital "materials" (code vs no-code) comes with its own distinct trade-offs in cost, complexity, and performance.
The big catch, of course, is that you need the technical know-how. Building from scratch means you need to be comfortable with front-end development, API integrations, and security. It's also a much bigger investment of time and, if you're hiring a developer, money. All the maintenance falls on you, too—you'll be the one handling updates, fixing bugs, and making sure it doesn't break when browsers change.
No-Code Widget Builders vs Custom Coding Comparison
To make the decision clearer, here’s a straightforward comparison of the two approaches. Think about where your priorities lie—is it speed and ease, or is it total control and uniqueness?
| Factor | No-Code Widget Builders | Custom Coding |
|---|---|---|
| Speed | Very fast (minutes to hours) | Slower (days to weeks, or more) |
| Cost | Low monthly/annual subscription fees | Higher upfront cost for development, plus ongoing maintenance |
| Technical Skill | None required; uses a visual editor | Requires expertise in HTML, CSS, JavaScript, and APIs |
| Flexibility | Limited to platform features and templates | Limitless; build anything you can imagine |
| Maintenance | Handled by the platform provider | Your responsibility (or your developer's) |
| Scalability | Dependent on the platform's capabilities | Highly scalable, built to your exact specifications |
Ultimately, there's no single "best" answer. If you need a standard solution up and running by tomorrow, a no-code builder is your best friend. But if you're building a core feature that needs to be perfect and unique to your brand, investing in custom code is the only way to go.
How To Make Widgets Using No-Code Tools
If you want to get a professional-looking widget live on your site quickly, no-code tools are your best bet. Forget getting bogged down in lines of code; these platforms let you focus on what actually matters—the design and function—using drag-and-drop visual editors. It's entirely possible to build and launch something brilliant in just one afternoon.
Let's walk through a real-world example: building a dynamic customer reviews widget. Say you want to automatically display your latest 5-star Google Reviews on your homepage. It’s a classic move to build immediate trust, and a no-code tool makes it surprisingly simple.
You'd start by picking a tool that handles these kinds of integrations. Once you're in, you'll likely find a pre-built "Google Reviews" widget template. The first thing it'll ask is for you to connect your Google Business Profile, which is a secure way of giving the tool permission to pull in your live reviews.
Configuring Your Data And Layout
As soon as you connect your account, you’ll see your reviews pop up in a preview window. This is where the fun begins. Now you can get specific about what you want to show. Most good tools give you plenty of control, letting you:
- Filter by rating: You can set it to only pull in reviews with 4 or 5 stars, keeping things positive.
- Choose the number of reviews: Decide if you want to feature the latest 5, 10, or even 20 testimonials.
- Filter out specific feedback: Some tools even let you add keywords to automatically hide reviews containing certain words you'd rather not feature.
With the data sorted, you can think about the layout. How do you want these reviews presented? You could go for a carousel slider, a modern-looking masonry grid, or just a clean vertical list. For a homepage, a carousel is a great choice because it’s interactive and doesn't take up a ton of vertical space.
When your widget needs to do more than just display information—like collecting data from users—you might want to look into powerful no-code CRUD API backend tools. These can act as the 'brain' for more complex widgets without you having to touch any server-side code.
Customising Design And Appearance
Now that the structure is in place, it’s time to make it look like it truly belongs on your site. The goal is to match your brand's aesthetic perfectly. You’ll be able to tweak all sorts of visual elements:
- Colours: Change the background, text, and even the star rating colours to match your brand's palette.
- Fonts: Pick a font that aligns with the typography you use across your website.
- Layout Elements: Fine-tune the spacing, borders, and shadows until it looks just right.
The real aim of customisation is to achieve seamless integration. A great widget shouldn't scream "third-party add-on." It should feel like it was designed specifically for your website from day one.
Once you’re happy with the look and feel, the platform will give you a single line of embed code. All you have to do is copy that snippet and paste it into the HTML of the page where you want it to appear. Just like that, your widget is live, and it will even update itself automatically as new reviews roll in.
Thinking about how widgets can support your wider online efforts? Our beginner's guide to digital marketing can give you some great ideas on how they fit into the bigger picture.
Building a Custom Widget with HTML, CSS, and JavaScript
If you’re after complete creative freedom, nothing beats rolling up your sleeves and coding a widget from scratch. This route lets you break free from the constraints of no-code builders, giving you the power to craft something that fits your exact needs. Let's walk through how this works by planning out a real-world example: a live weather widget.
We'll start by building a solid, accessible foundation with HTML. Then, we’ll bring it to life with modern styling, and finally, add the interactive magic using JavaScript to pull in real-time data.

Crafting the Structure with Semantic HTML
Before you even think about colours or animations, you need a solid HTML structure. This is the skeleton of your widget, and getting it right is fundamental. Using semantic HTML is more than just good practice; it's essential for making your widget accessible and SEO-friendly. It’s all about using tags that actually describe the content they hold.
For our weather widget, a sensible structure would look something like this:
- A main container:
<div class="weather-widget"> - The location heading:
<h2>London Weather</h2> - The current temperature:
<div><p>15°C</p></div> - A weather icon:
<img src="sunny.svg" alt="Sunny icon"> - Extra details: a
<ul>for things like humidity and wind speed.
This logical layout means that even without a single line of CSS, the widget's content is perfectly understandable to screen readers and search engine crawlers.
Designing the Experience with CSS
With the HTML skeleton in place, it’s time to add the visual flair with CSS. This is where you inject your brand's personality and make the widget feel like it truly belongs on your site. Modern CSS gives you powerful tools like Flexbox and Grid to position elements without any fuss.
For instance, you could apply display: flex; to the main container to neatly align the weather icon and temperature side-by-side. A subtle box-shadow can give it some depth, and using CSS custom properties (variables) for your brand's colours makes it incredibly easy to update the theme later on.
A well-designed widget should integrate so seamlessly that users don't even realise it's a separate component. The styling should complement your existing design, not compete with it.
Adding Interactivity and Data with JavaScript
JavaScript is where your static design becomes a dynamic, interactive tool. For our weather widget, JavaScript will do two key things: manage user input and fetch live data from an external source. You could, for example, add a search box that lets users type in their own city.
When a user submits a city, your script would make an API call to a weather service. As soon as the data comes back, JavaScript kicks in to dynamically update the HTML—changing the city name, temperature, and weather icon right before the user's eyes, all without a page reload. This is what makes a custom widget so powerful.
It's also interesting to see how broader economic trends can influence development. For example, recent reports on UK manufacturing show a strong post-pandemic recovery, which is great news for anyone involved in digital or physical production. By mid-2025, manufacturing output across every English region, Scotland, and Wales had already surpassed 2019 levels. This boom created around 12,000 new jobs and shows renewed confidence in key sectors. You can read more about this in the UK's regional manufacturing outlook on makeuk.org.
Testing and Deploying Your New Website Widget
https://www.youtube.com/embed/6usqzoKYXag
Right, you’ve built your widget. You're on the home stretch, but don't rush this final part. A buggy or sluggish widget can seriously hurt your site’s credibility and performance, doing more harm than good. Getting the testing and deployment right is what separates a professional feature from a frustrating gimmick.
While getting the widget live can be as simple as pasting a snippet of code, the real work happens before you hit publish. This is where a thorough testing plan becomes your most valuable asset.
Ensuring Cross-Browser and Device Compatibility
It's a simple fact: your widget has to work flawlessly for everyone, no matter what browser or device they're using. Something that looks perfect on your desktop in Chrome could be completely broken on an iPhone using Safari. That’s why you can't afford to skip this step.
I always recommend building a simple testing matrix. It doesn't have to be fancy, just a checklist covering the most common user setups:
- Browsers: Make sure to test on the latest versions of Chrome, Firefox, Safari, and Edge.
- Operating Systems: Give it a quick check on both Windows and macOS to spot any OS-specific quirks.
- Devices: This is huge. Test on desktops, tablets, and various mobile phone screen sizes. And don't just look—actually interact with it. Pay close attention to how touch controls feel on mobile.
Go beyond just a visual check. Click every button, fill out every form, and test every single interactive element. A button that’s unresponsive on mobile is a dead end for your user and a massive point of frustration.
A widget is only as good as its worst performance. If it breaks on a popular browser or device, a significant portion of your audience will have a negative experience, which reflects directly on your brand.
Once you’re satisfied that it works everywhere, it’s time to deploy. Depending on how you built it, this might involve pasting a line of code into your site's HTML, or it could mean integrating files directly into your codebase. For many e-commerce platforms, you can simply edit a specific post's HTML to embed the widget code exactly where you want it.
Analysing Performance and Final Deployment
A new feature should never drag your website down. Page speed is a massive factor for user experience and SEO, so you absolutely must measure your widget's impact. A great way to do this is to run your page through a tool like Google PageSpeed Insights before and after adding the widget. This gives you concrete data on any change in load time.
If you notice a slowdown, it's time to investigate. The usual suspects are oversized image files or clunky, inefficient scripts. Your goal is a widget that loads almost instantly without making visitors wait. After all, what’s the point of a great feature if people bounce before it even shows up?
The reliability of the tools you use also plays a part in long-term stability. It’s a bit like supply chains in the physical world. For example, UK manufacturing production rose by 0.5% in June 2025, showing resilience even after a dip. That kind of real-world volatility is a good reminder of why choosing stable, well-supported platforms for your digital components is so important. You can dig into the data on UK manufacturing trends on tradingeconomics.com.
Finally, once your widget is live, the job isn't over. Keep a close eye on your analytics and listen to user feedback. This is how you’ll spot opportunities for improvement. The data you gather can also feed into your wider marketing strategy. For instance, understanding the advantages of email marketing shows you just how valuable the leads from your new pop-up widget can be.
Common Questions About Making Website Widgets

Even with the best-laid plans, a few questions always pop up once you get your hands dirty building a widget. Let's run through some of the most common ones I hear, so you can tackle your project with confidence and avoid any last-minute surprises.
We'll cover how widgets can play with your search rankings, what to watch out for with security, and where to find the data that will bring your idea to life.
Will My Widget Affect SEO?
This is a big one. The short answer? It really depends on how it’s built.
A well-coded, lightweight widget that loads quickly shouldn’t hurt your SEO at all. In fact, if it genuinely helps users and keeps them on your page longer, it can even give you a nice little engagement boost in Google’s eyes.
The real danger comes from poorly optimised widgets. If yours is loaded down with heavy scripts or massive, uncompressed images, it can absolutely tank your page speed—a critical ranking factor. Performance has to be a top priority from day one.
The golden rule for widgets and SEO is simple: make sure they enhance the user experience without dragging down site performance. A fast, helpful widget is always a net positive.
What Are The Security Risks?
Anytime you add new code to your website, especially from a third party, you're opening a new door. If you’re using a no-code platform, do your homework. Stick with reputable providers who are transparent about their security measures and have a solid track record.
If you're custom-coding, the responsibility is all on you. You'll need to be meticulous about sanitising all user inputs to block injection attacks. Just as important, make sure any data you're sending or receiving via APIs is handled securely. Never, ever expose sensitive API keys or credentials in your client-side code.
Where Can I Get Data For My Widget?
This completely depends on what you want your widget to do. The possibilities are huge, but most data sources fall into one of three camps:
- Internal Data: You can pull information directly from your own website’s database. A classic example is a widget that shows a logged-in user their recently viewed products.
- Third-Party APIs: This is where things get really interesting. You can tap into services that provide live data for weather, stock prices, social media feeds, and so much more.
- User-Generated Content: Your widget could be designed to display content submitted by your visitors, like customer reviews, comments, or photos. For instance, many people want to create a donations widget, which relies on user input to function.
Ready to discover the best tools to bring your widget ideas to life? At The Digital Marketing Toolbox, we’ve curated the top platforms for analytics, SEO, social media, and more to help you build, test, and deploy with ease. Explore our recommendations and find the perfect solution for your next project at https://grow-your-biz.com.


