

Getting started with Google Analytics boils down to a few key stages: creating your free account, setting up a new GA4 property for your website, and then adding a small snippet of tracking code. Once that's done, you unlock a treasure trove of data about how people find and use your site, swapping guesswork for a clear, data-led strategy.
Why Setting Up Google Analytics Is Non-Negotiable

Before we jump into the how, let's quickly cover the why. Honestly, trying to grow a website without any analytics is like driving with a blindfold on. You might be moving, but you've no real idea where you're heading or what obstacles are just around the corner.
Google Analytics is the tool that takes off the blindfold. It gives you a direct window into your audience’s behaviour, showing you which marketing channels are actually bringing people in, what content they love, and where they’re losing interest before they take action.
The Big Shift From Universal Analytics to GA4
The version we're using today, Google Analytics 4 (GA4), is a complete overhaul of its predecessor, Universal Analytics (UA). This wasn't just a fresh coat of paint; it was a fundamental change in how user activity is measured.
GA4 is built on an event-based model. This means it focuses on tracking specific interactions—like someone clicking a button, watching a video, or filling out a form—instead of just counting page views. This gives you a much richer, more complete picture of a person's journey, especially since we all hop between our phones and laptops constantly.
At its core, GA4 helps you understand the entire story of how someone interacts with your business online, not just a series of isolated visits. This shift is absolutely critical for making smarter marketing decisions.
What This Guide Covers
I’ve designed this walkthrough to take the mystery out of the whole setup. We're going to cover everything you need to know to get Google Analytics running properly from day one:
- Creating your account and structuring it in a way that makes sense for the future.
- Configuring a GA4 property and the essential data stream that powers it.
- Installing the tracking code on your website (I'll show you a few different ways, so there’s an option for everyone).
- Verifying your data to make sure everything is ticking along perfectly.
The adoption of this tool in the UK really underscores its importance. A staggering 1,697,133 websites in the UK are actively using it, cementing its place as an essential part of any modern business toolkit. What's really interesting is that around 72% of these are small businesses with fewer than 10 employees, which just goes to show you don't need to be a huge corporation to benefit.
Once you’re all set up, you can start gathering the kind of data that's crucial for measuring marketing campaign success and making genuinely informed decisions. It's a foundational skill, and our beginner's guide to digital marketing is a great next step for putting these new insights into practice.
Getting Your GA4 Account and Property Set Up

Alright, you're ready to get your hands dirty and build the foundation for your data collection. This all begins with creating a Google Analytics account.
Think of the account as the main filing cabinet for your entire business. Inside that cabinet, you'll create individual "properties," which are like separate folders for each website or app you want to track. It's a simple hierarchy, but getting it right from the start is a game-changer.
Getting this setup right is particularly important for UK businesses. By 2025, Google Analytics 4 (GA4) is the undisputed standard, having fully replaced the old Universal Analytics. This shift happened for a reason—GA4 is built for modern privacy standards and gives you a much smarter way to analyse how people actually interact with your site. You can dive deeper into how GA4 benefits UK businesses in 2025 if you're curious about the specifics.
How to Name Your Account and Property
First things first, head over to the Google Analytics site and hit "Start measuring." You'll land on the account creation screen.
Here’s where a lot of people make their first mistake: they name the account after their website. Don’t do that. Instead, name the account after your business. If you’re a freelancer, use your own name. This simple bit of organisation saves a massive headache later on. For instance, if your company is "Willow Creek Digital," that's your account name. Simple.
Next, Google will ask you to create your first GA4 property. This is where you should use your website’s name. If your site is bestgardentips.co.uk, then a perfect property name is "Best Garden Tips."
Sticking to this convention—Business Name for the Account, Website Name for the Property—keeps everything tidy and intuitive, especially when you eventually add more sites or apps to track.
Dialling in Your Time Zone and Currency
After you've named your property, you'll be prompted to set a few crucial details. They seem small, but they directly affect the accuracy of your reports, so pay close attention here.
- Reporting time zone: Set this to where most of your customers are. For a UK business serving local clients, you’ll want to select United Kingdom (GMT). This ensures your daily reports line up with your actual business day.
- Currency: Choose the currency you operate in, like Pound Sterling (GBP). This is non-negotiable if you plan on tracking e-commerce sales or calculating the return on your ad spend.
Getting these right from day one means you won't be scratching your head over mismatched data later. Just imagine trying to figure out your daily sales trends when your reports reset at 4 PM—it makes real analysis next to impossible.
Pro Tip: Don't just click through the "business details" section that follows. While it won't break your tracking, taking a moment to select your correct industry category allows Google to give you useful benchmarking data. You'll be able to see how your site's performance stacks up against others in your sector.
Once you agree to the terms of service, that’s it! Your GA4 account and property are officially live. Now, the real work begins: setting up the data stream to start funnelling information from your website into this shiny new property.
Setting Up Your Data Stream and Grabbing Your Measurement ID
Right, you’ve got your new GA4 property. Now it's time to connect it to your website so the data can actually start flowing in. In GA4, this connection is called a Data Stream. It's essentially the digital pipeline that channels user activity from your site straight into your Analytics reports.
You'll be asked to "Choose a platform." Since we're tracking a website, the choice is pretty straightforward – just select Web. This tells Google Analytics what kind of data to expect. After that, pop in your website's URL (like www.yourgreatsite.co.uk) and give the stream a sensible name. I usually just use the website's name to keep things simple.
Don't Skip Enhanced Measurement
As soon as you create the stream, you'll see a setting for Enhanced measurement. It should already be switched on, and my advice is to leave it that way. Honestly, it's one of the most powerful built-in features of GA4 and saves a ton of technical work.
In the old days, you’d have to get a developer to manually set up tracking for common interactions. Now, Enhanced measurement handles it all automatically. Straight out of the box, it will start tracking:
- Scrolls: It logs an event when someone scrolls 90% down a page.
- Outbound clicks: You'll know when users click a link that takes them to another website.
- Site search: See exactly what people are typing into your website's search bar.
- Video engagement: For embedded YouTube videos, it tracks plays, progress, and completions.
- File downloads: Know when users click to download PDFs, documents, or other files.
This gives you a much richer picture of what people are actually doing on your site from the moment you go live.
My Two Cents: Leaving Enhanced measurement on is a no-brainer. It gives you valuable event data immediately without you having to touch a single line of code. You get instant insights that go way beyond basic page views.
Finding That All-Important Measurement ID
Once the data stream is created, you’ll land on the "Web stream details" page. This screen holds the key to the whole setup: your Measurement ID.
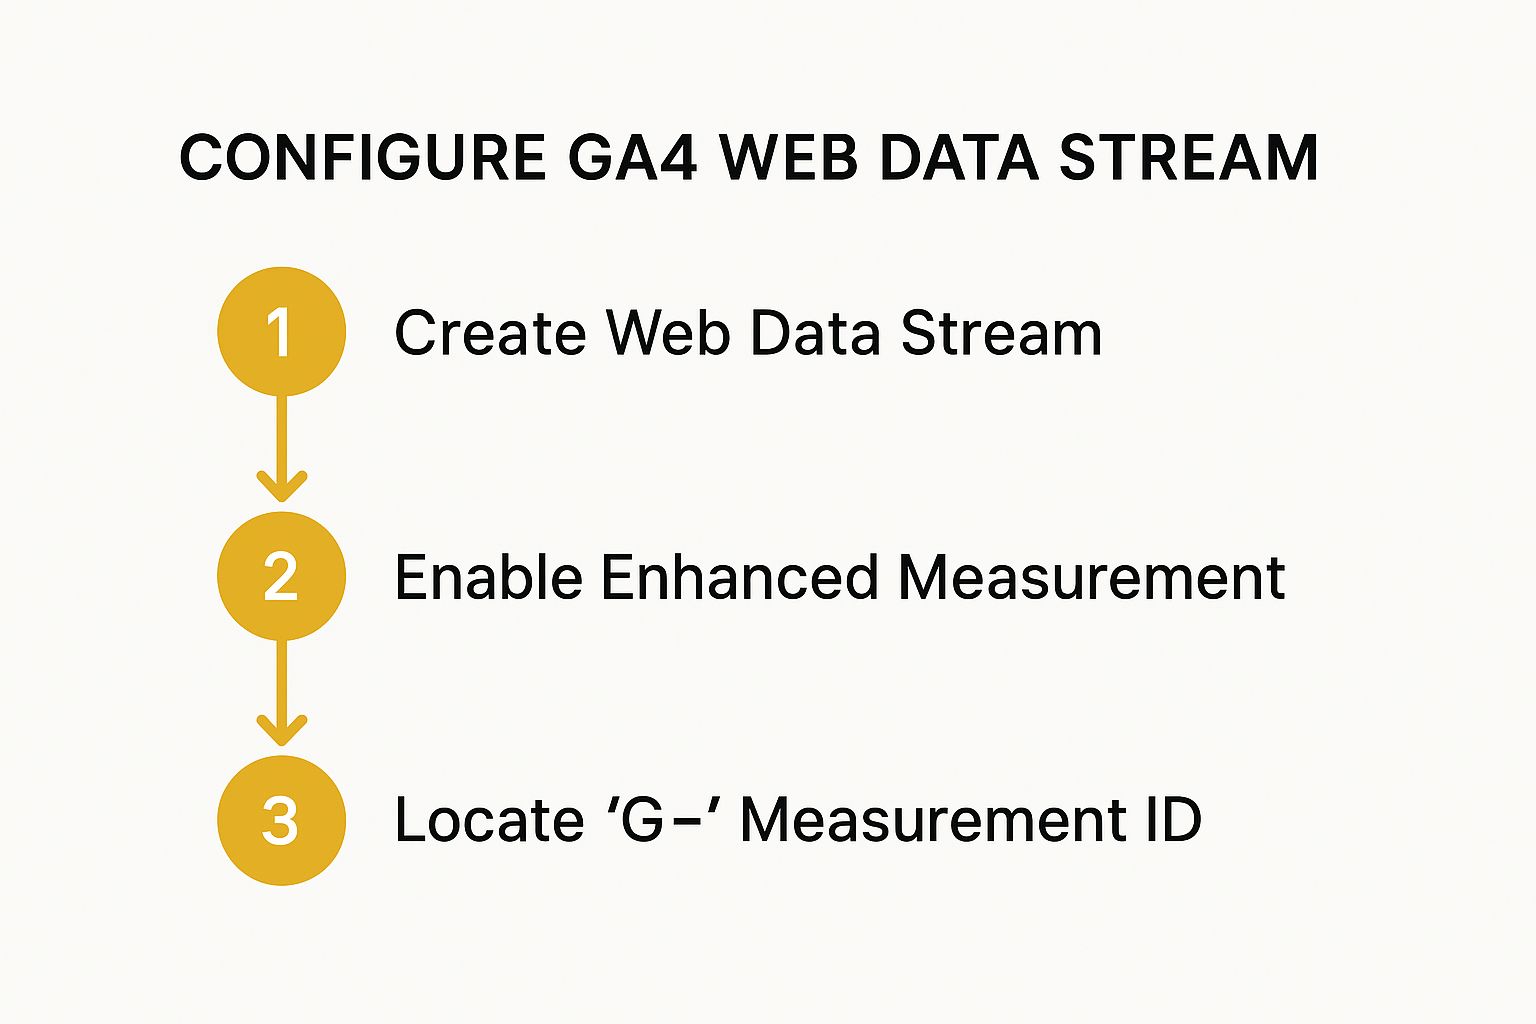
This is the unique code that links your website directly to this GA4 property. You'll know it when you see it—it always starts with "G-" followed by a mix of numbers and letters. This "G-" ID is exactly what you'll need to get the tracking code installed on your website in the next step.
This quick infographic gives you a bird's-eye view of the whole process, from creating your stream to finding that crucial ID.
If you've been around Analytics for a while, you'll remember the old "UA-" Tracking IDs from Universal Analytics. The new "G-" Measurement ID is its direct replacement. They do the same job, but you can't use them interchangeably. If you come across any old guides asking for a "UA-" ID, they're out of date. For a proper GA4 installation, you must use the "G-" ID.
Make a note of this ID. We’re about to put it to work.
Alright, you've got your new GA4 property set up and your "G-" Measurement ID is ready. Now for the really important part: getting the tracking code onto your website so Google can actually start gathering data.
This is where the rubber meets the road, and you have two main ways to go about it. The path you choose really depends on your comfort level with code and what your long-term plans are for digital marketing.

Choosing Your GA4 Installation Method
The two options on the table are installing via Google Tag Manager (GTM) or doing it manually by adding the gtag.js code snippet directly to your site. I nearly always push people towards GTM, but let's break down why one might be a better fit for you than the other.
| Feature | Google Tag Manager (GTM) | Manual Installation (gtag.js) |
|---|---|---|
| Ease of Use | Steeper initial learning curve, but much easier for long-term management. | Simpler for a one-time setup, but becomes difficult to manage more tags. |
| Flexibility | Highly flexible. Add, edit, and remove any marketing or analytics tags without touching site code. | Limited. Every new tag requires editing your website's code directly. |
| Performance | Can improve site speed by managing how and when tags fire. | Can slow down your site if multiple scripts are added directly to the header. |
| Best For | Marketers, business owners, and agencies planning for growth and multiple tracking needs. | Developers or website owners with very basic tracking needs who won't add more tags. |
Honestly, even if you think you only need Google Analytics right now, taking the extra 30 minutes to set up GTM is a smart move. It’s the industry-standard approach for a reason and will save you a world of headaches later on.
The Case for Google Tag Manager
Think of GTM as a digital toolbox for all your tracking scripts. Instead of cluttering your website's code with individual snippets for Google Analytics, a Meta Pixel, LinkedIn tracking, and so on, you just install the GTM container once. From that point on, you manage everything from a separate, clean interface.
This is a huge deal. It puts the power in your hands, not your developer's. Need to launch a new campaign and add a conversion pixel? You can do it yourself in minutes through GTM without ever needing to open a single website file.
My Advice: The separation of marketing tech from your website’s core code is the biggest win here. It dramatically lowers the risk of you accidentally breaking your site while trying to add a new script. Make the small investment now to learn GTM—your future self will thank you.
Platform-Specific Installation Guides
The great news is that most modern website platforms have made this process incredibly straightforward. You almost never have to dig into theme files anymore.
Here’s a quick rundown for the big players:
-
WordPress: The simplest route is to use a plugin. Something like the official Site Kit by Google or other popular options like MonsterInsights makes it a breeze. You just install the plugin, connect your Google account, and it handles the rest. No code required.
-
Shopify: Shopify has a built-in field just for this. Head to your Shopify admin, go to
Online Store>Preferences, and scroll down to the "Google Analytics" section. All you have to do is paste your "G-" Measurement ID right into the box. -
Squarespace: Just like Shopify, Squarespace has a dedicated spot for your ID. Navigate to
Settings>Advanced>External API Keys. You'll see a field labelled for your Google Analytics Measurement ID. Pop it in there, hit save, and you're good to go.
If you decide to go against my advice and opt for the manual installation, you'll need to grab the gtag.js code snippet that Google provides. This entire block of code must be carefully placed within the <head> section of every single page on your site. For platforms like WordPress, you can often do this through your theme's settings or by using a lightweight plugin designed for adding header and footer scripts.
How to Know if It’s Actually Working
Alright, the tracking code is on your site. So, are we done? Not quite. Don't skip this last check – it's like building a new car and never starting the engine to see if it runs. We need to make sure data is actually flowing into your new GA4 property.
Thankfully, there’s a simple way to do this.
Check the Realtime Report
The quickest, most satisfying way to see your data come to life is with the Realtime report inside GA4. It’s designed to show you what’s happening on your website right now.
Head over to your GA4 property and navigate to Reports > Realtime in the left-hand menu. At first, you’ll probably see a big fat zero for your user count. Don't worry, that's normal.
Now for the test. In a new browser tab, go to your own website. Click on a few different pages, maybe visit your 'About' or 'Contact' page.
Flip back to the GA4 Realtime report. You should see the user count flick over to 1, and a little blue dot will likely pop up on the map right over your city. Seeing that dot appear is the moment you know everything is connected and working as it should. It’s a great feeling!
If for some reason nothing shows up, the free Google Tag Assistant extension for Chrome is your best friend. It’s a brilliant tool that shows you exactly which Google tags are firing on your site, helping you troubleshoot what might have gone wrong.
Two Crucial Day-One Configurations
Once you've confirmed data is flowing, there are a couple of housekeeping tasks I always recommend doing immediately. Getting these sorted from the beginning will save you a lot of headaches later and ensure your data is as clean as possible.
- Filter Out Your Own Visits: You, your colleagues, and your web developer are going to be on your site a lot. To stop your own activity from polluting your analytics, you need to filter out your internal traffic. You’ll find this setting under
Admin>Data Streams>Configure tag settings>Define internal traffic. - Link Your Google Ads Account: If you're running Google Ads (or even think you might in the future), linking it to GA4 is essential. This connection allows you to share audience lists and conversion data between the platforms, which is incredibly powerful for optimising your ad spend and understanding campaign performance.
Getting these small configurations right from the start is what separates a messy, unreliable dataset from a powerful business intelligence tool. Clean data leads to clear insights and better decisions.
The value of this clear data for UK businesses can't be overstated. Companies with significant annual revenue are often the most diligent users of Google Analytics, using it to constantly refine their marketing. For retail sites, which make up a huge portion of GA4 users, these insights directly translate into better user experiences and more sales. You can dig into some of these Google Analytics statistics and their implications to get a better sense of its impact.
Of course, if you do get stuck during this verification phase, you might be running into common data integration problems. Once you’re up and running, you can start using your new analytics insights to fuel other strategies, like exploring the advantages of email marketing based on what you learn about your audience.
Common Questions About Setting Up Google Analytics
Even the smoothest setup can leave you with a few lingering questions. It's completely normal to wonder about the finer points, so let's walk through some of the most common queries I hear from people just getting started.
Getting these details right from the beginning gives you confidence that your analytics are set up correctly and your data will be reliable from day one.
How Long Until I See Data?
This is, without a doubt, the question I get asked the most. You've installed the tag, you're excited, and… nothing. Don't panic!
While the Realtime report is brilliant for checking your tracking code is working within minutes, your standard reports take a bit longer to process everything.
You should generally expect to wait 24 to 48 hours before you see meaningful data showing up in your main dashboards, like traffic sources and user engagement. It's a standard processing delay, so just give it a little time.
Can I Still Use My Old Universal Analytics?
Technically, yes. You can run both the new GA4 and the old Universal Analytics (UA) tracking codes on your site simultaneously. This was a common practice called "dual tagging" during the transition period.
However, and this is the crucial part, Universal Analytics properties officially stopped processing any new data on 1 July 2023. So while your old tag might still be there for historical reference, all your focus, analysis, and decision-making should now be based entirely on the data flowing into your new GA4 property. If you're setting up a brand new site today, just install GA4.
Think of GA4 as your single source of truth for all current and future website analytics. The UA era for collecting new data is well and truly over.
Do I Need to Tell Visitors I Use Google Analytics?
Yes, absolutely. This isn't just good practice; it's a legal requirement. Privacy regulations, especially the GDPR which applies across the UK and Europe, demand transparency about data collection.
Here's what you must do:
- Inform users clearly that your site uses cookies and tracking technologies like Google Analytics.
- Get their consent before any tracking begins. This is typically managed with a pop-up cookie consent banner.
- Update your privacy policy to specifically name Google Analytics, explaining what data you collect and why you collect it.
Handling this properly is a fundamental part of building trust with your audience and is a cornerstone of any good marketing strategy for a small business.
Ready to discover the perfect tools to act on your new analytics insights? At The Digital Marketing Toolbox, we've curated the best solutions for SEO, email marketing, and more, all in one place. Find exactly what you need to grow your business at https://grow-your-biz.com.


