
Putting a Google Calendar on a website is a surprisingly simple way to make your site far more useful and dynamic. With just a small snippet of code, you can display your live schedule, upcoming events, or even your team's availability right on your web pages. It's a quick win that transforms a static site into an interactive hub for your visitors.
Why Add a Google Calendar to Your Website?
Let's be honest, integrating a calendar does more than just fill a space on your page. It shifts your website from being a digital brochure to a genuinely helpful organisational tool. Instead of just listing information, you're actively showing it in a real-time, easy-to-digest format. It's a small change that can have a massive impact on your user experience and even your own efficiency.

Streamline Your Operations and Cut Down on Admin
Think about it. A local yoga studio gets endless calls asking, "What time is the class tonight?". A consultant spends half their day in email chains trying to find a meeting slot. An embedded Google Calendar becomes the single source of truth for your customers, dramatically reducing those repetitive questions.
This kind of automation frees you up to focus on what actually matters. For small businesses, this is a cornerstone of an effective marketing strategy for small business, as it improves customer service without adding to your workload.
Boost User Engagement and Build Trust
When someone lands on your site and sees a constantly updated schedule, it immediately builds confidence. It shows you're active, organised, and professional. This simple feature helps in a few key ways:
- Looks Professional: An integrated, working calendar just makes your website feel more polished and legitimate.
- Reduces No-Shows: Having a clear, accessible schedule acts as a constant, gentle reminder for appointments and events.
- Increases Transparency: It gives visitors a clear window into your organisation's activities, which naturally fosters trust.
This isn't a new trend, either. In the UK alone, there are around 15,389 websites already using Google Calendar integrations for everything from event promotion to appointment booking.
By providing a live, interactive schedule, you aren't just sharing dates; you're inviting your audience to become part of your community in a more meaningful way.
Of course, Google Calendar isn't the only game in town. It's always worth it to explore various calendar solutions to see what fits your specific needs for managing events and bookings. But for a free, reliable, and universally recognised option, Google's tool is tough to beat for turning your website into a dynamic scheduling hub.
Getting Your Calendar Ready for Public View
Before you can even think about embedding a Google Calendar on your website, you need to make it publicly visible. This is, without a doubt, the most critical part of the whole process. Get it wrong, and your visitors will just see a blank space where your schedule should be – not the professional look you're going for.
Think of it like a shop window. You wouldn't board it up and expect people to know what's inside. A private calendar is invisible to the outside world, so making it public is the non-negotiable first step.
Navigating to the Right Settings
First things first, open up your Google Calendar. On the left-hand side, find the specific calendar you want to share. As you hover over its name, you'll see three vertical dots pop up. Click on those and choose "Settings and sharing".
This little menu is your command centre. It's where you'll control exactly who sees your events and what level of detail they can access. Taking a moment to get this right will save you from headaches with broken embeds or, even worse, accidentally sharing private information.
Choosing the Right Public Access Level
Once you're in the settings, scroll down until you find the "Access permissions for events" section. The key here is the checkbox labelled "Make available to public". You absolutely have to tick this.
After you've ticked it, a dropdown menu appears next to it. This gives you two very important choices:
- See only free/busy (hide details): This is brilliant if you're a consultant or service provider wanting to show your availability. Visitors can see when you’re busy but get none of the specifics, like who the meeting is with or what it's about.
- See all event details: Perfect for things like a yoga studio's class timetable, a community centre's event list, or a band's tour dates. This option makes all event titles, descriptions, and locations visible to anyone who lands on your site.
Choosing the correct level of detail is crucial. For public events, transparency is key. For personal availability, protecting client privacy with the 'free/busy' option is essential. Always double-check this setting before you generate your embed code.
In the UK, Google's tools have become a staple for countless businesses and individuals. This deep-rooted adoption means millions rely on Google Calendar daily, making it a familiar interface for your website visitors. You can find more data on Google Workspace's popularity over at Exploding Topics.
Finally, a quick pro-tip. If you're juggling appointments across different platforms, keeping everything in sync is a lifesaver. A well-managed Outlook Google Calendar sync ensures that the calendar on your website is always a true reflection of your availability, pulling in appointments from all sources to prevent any embarrassing double-bookings.
Embedding Your Calendar with the Standard iFrame Method
With your calendar now public, you're ready for the main event: getting it live on your website. The most straightforward way to put a Google Calendar on a website is by using Google's own iFrame method. It's their built-in, no-fuss solution that spits out a little snippet of HTML you can drop right into your site's editor.
The beauty of this approach is that it requires absolutely zero coding know-how. You’re essentially creating a small window on your webpage that looks directly into your live Google Calendar. Any update you make there—like adding a new event or shifting a time—shows up on your site automatically. It’s simple, and it just works.
Finding the Magic Embed Code
First things first, let's get that code. Head back to your calendar's "Settings and sharing" page, which is the same place you made it public. Scroll on down until you spot a section called "Integrate calendar". This is the control centre for connecting your calendar with the outside world.
You'll notice a few different links and codes, but the one we're after is the "Embed code". It's a pre-built HTML snippet that begins with <iframe src=.... Go ahead and click on it to highlight the whole thing, then copy it. That's the piece of the puzzle you'll be pasting into your website's HTML editor or a custom HTML block.
This little graphic illustrates the path from your main calendar view to the integration settings.
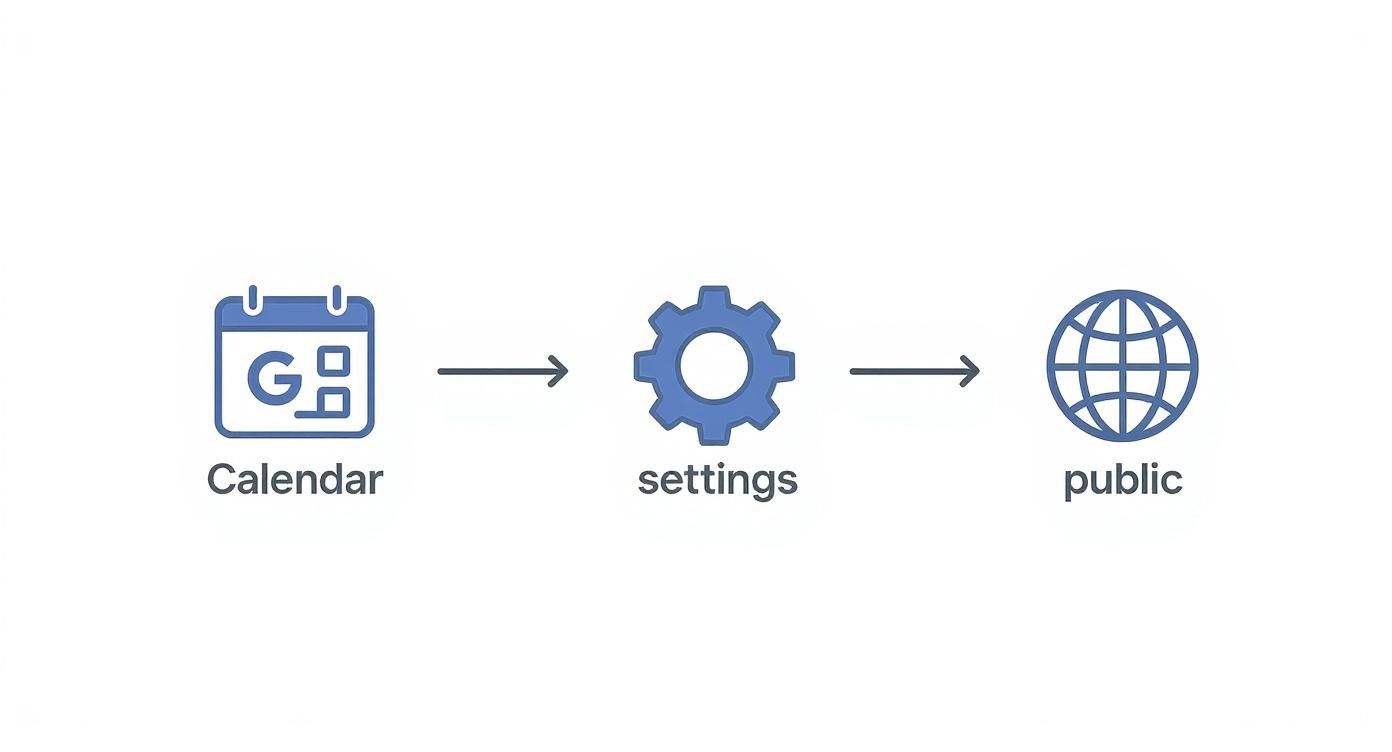
It’s a handy reminder of the three main clicks it takes to get to where you need to be, making sure you’re in the right spot before you start tweaking the design.
Customising Your Calendar's Look and Feel
Before you dash off to paste that code, hold on a second. See that blue "Customise" button sitting just above the embed code box? Don't ignore it. This is your secret weapon for fine-tuning how the calendar looks and behaves on your site, all without touching a single line of code yourself. Clicking it opens up a new window with a live preview and some simple checkboxes.
Here's a quick rundown of what you can tweak:
- Title: You can give your embedded calendar a completely different title than its original, or just hide it altogether for a cleaner, more integrated look.
- Show/Hide Elements: This is incredibly useful. You can untick boxes to remove the navigation buttons, the date, the print icon, and even the time zone. Perfect for creating a minimalist display.
- Default View: Decide if you want visitors to first see a Month, Week, or Agenda layout. I've found the Agenda view is brilliant for a simple, scrollable list of what's coming up.
- Size: Set a specific width and height in pixels. This ensures your calendar fits perfectly into the space you've designed for it on your page.
- Background Colour: You can adjust the background to better match your website's branding, although the colour options are fairly basic.
Pro Tip: For the most seamless integration, I often hide almost everything except the calendar itself—especially the title and navigation buttons. It makes the calendar feel like a genuine part of your website, not just a widget that's been tacked on.
As you click through these options, you'll see the embed code at the top of the page update in real-time. Once you're happy with how the preview looks, that's the code you want to copy. This personalised snippet is what will bring your slick, customised Google Calendar to life on your website.
Advanced Styling and Customisation Techniques
While the standard iFrame gets your Google Calendar on your website, let’s be honest—its default look can feel a bit generic. If you want a calendar that truly feels like part of your brand, not just a tacked-on widget, it's time to dig a little deeper. We need to move beyond the basic customisation options and take full control of the design.
For many of us, the standard iFrame is functional, but it just doesn't have the visual polish to match a carefully designed website. The good news is, with a few tricks up your sleeve, you can make your embedded calendar look completely bespoke.
Overriding Default Styles with CSS
One of the most powerful ways to style the Google Calendar iFrame is with CSS (Cascading Style Sheets). Now, you can't directly edit the code inside the iFrame, but you can apply styles to the iFrame container itself. This gives you control over things like the border, size, and you can even apply filters to tweak its appearance.
For example, a common first step is to get rid of that default border Google adds:
iframe.google-calendar {
border: none;
width: 100%;
height: 600px;
}
Just adding this simple CSS snippet to your iFrame removes the border and makes the calendar span the full width of its container. It's a small change that instantly creates a much cleaner, more integrated look.
Using Third-Party Plugins and Widgets
If diving into CSS feels a bit much or you simply need more control than it allows, third-party plugins are a fantastic alternative. This is especially true if you’re using a platform like WordPress. These tools are built to pull in your Google Calendar events and then display them in a highly customisable, native format.
- WordPress Plugins: Tools like The Events Calendar or Simple Calendar are brilliant for this. They connect to your Google Calendar feed and let you build beautiful displays using their own templates and styling options, which are often far more flexible than the standard iFrame.
- Website Builder Widgets: Most popular website builders, like Wix or Squarespace, have dedicated calendar widgets. These can sync with your Google Calendar and give you a more brand-aligned result without you having to write a single line of code.
The biggest win with a plugin is design consistency. It ensures your calendar’s fonts, colours, and layouts perfectly mirror the rest of your site. This is a core principle we touch on in our beginner's guide to digital marketing.
Weighing Your Customisation Options
So, should you use manual CSS tweaks or a dedicated plugin? It really comes down to a classic trade-off: simplicity versus control.
| Approach | Pros | Cons |
|---|---|---|
| Standard iFrame with CSS | Fast to set up, no extra software needed, and has a minimal performance impact. | Limited styling control; you can't change internal elements like fonts. |
| Third-Party Plugin | Gives you complete design control, often with extra features like ticket sales. | Can add bloat to your site, might have a learning curve, and premium features can cost money. |
When making your choice, think about your audience's experience. In the UK, Google Chrome holds a massive 49.61% market share, with Safari following at 30.76%. A well-implemented Google Calendar iFrame will perform smoothly for the vast majority of your visitors, making it a reliable starting point. You can explore more about browser usage statistics in the UK if you're interested.
Ultimately, whether you stick with the iFrame or opt for a plugin, the goal is always the same: a calendar that looks great and serves your users effectively.
Troubleshooting Common Embedding Problems
Embedding a Google Calendar is usually a smooth process, but every now and then, things just don't play ball. You grab the code, pop it into your site, and… nothing. Just a frustrating blank space or a calendar that looks completely wrong.
Don't panic. These hiccups are almost always down to a handful of simple, common oversights. Before you start tearing your hair out and diving into your website’s code, the best first step is to simply retrace your steps. More often than not, the culprit is a single forgotten tickbox in your calendar’s sharing settings.
My Calendar Is Not Showing Up at All
This is, by far, the most common roadblock people hit. If you’re staring at an empty box where your beautifully organised calendar should be, it’s a tell-tale sign that your calendar’s privacy settings are getting in the way. Your website is calling out for the calendar, but Google is blocking it.
The fix is usually a quick trip back to your Google Calendar's "Settings and sharing" page.
- Make it public: The first thing to check is the "Make available to public" box. If this isn't ticked, your website visitors (and anyone else not logged into your Google account) won't be able to see a thing.
- Clear your cache: After making sure the calendar is public, it's a good idea to clear your website's cache. Your site might just be stubbornly holding onto an old version of the page.
The most common error is human error. Double-checking that your calendar is set to "public" will solve this problem 99% of the time. It’s a simple step that’s incredibly easy to overlook in the rush to get your schedule live.
Some of My Events Are Missing
Here's another perplexing one: the calendar frame shows up, but some (or all) of your events are nowhere to be found. This little mystery usually happens when you’re juggling multiple calendars from the same Google account.
Remember, the embed code you generate is tied to one specific calendar. If you intended to post an event to your "Company Events" calendar but accidentally added it to your "Personal" one, it simply won't appear on the embedded company calendar. Always double-check you're adding events to the correct, publicly shared calendar.
It’s also worth noting that there can sometimes be a slight delay of a few minutes before a new event syncs and appears on the live version.
The Calendar Looks Weird on Mobile Devices
You’ve got it working! It looks fantastic on your desktop monitor. Then you check it on your phone, and it’s a complete mess—cut off, squashed, or forcing you to scroll sideways. This is a classic responsive design issue.
The default iFrame code Google provides often uses fixed pixel values for its width and height, which isn't ideal for the huge variety of screen sizes out there.
To make your Google calendar on a website mobile-friendly, you just need a small tweak to the embed code. Find the width="800" part and change it to width="100%". While you're there, you can remove the height="600" attribute entirely. This simple change allows the calendar to flex and adapt to fit any screen, from a large monitor right down to a small smartphone.
Got Questions About Your Website Calendar?
Even with a step-by-step guide, you'll likely have a few specific queries when you start embedding a Google Calendar on a website. I've pulled together some of the most common questions I get asked, along with straightforward answers to help you get things just right.
Getting these little details sorted can make all the difference, so let's clear up some common sticking points.
Can I Show Multiple Calendars in One View?
Yes, you certainly can. This is actually one of Google Calendar's most powerful features, especially for organisations juggling different schedules. Think of a community centre needing to show separate calendars for "Hall Bookings," "Public Workshops," and "Staff Meetings" all in one place.
It's simpler than you might think. Before you grab the iFrame code, just head into the "Customise" menu. You’ll see a list of all your calendars on the left-hand side. Simply tick the boxes next to each one you want to display. Google automatically combines them into a single, colour-coded calendar for your website visitors. Easy.
How Often Does the Embedded Calendar Update?
This is a big one, particularly if you're dealing with time-sensitive events. Your embedded Google Calendar does update automatically, but it isn't instant. While Google doesn't publish an official refresh rate, my experience shows that any changes you make will typically show up on your website within 5 to 15 minutes.
The key takeaway here is that the sync is periodic, not real-time. If you've just cancelled an event or posted an urgent update, it's smart to let people know through another channel—like a website announcement bar or a quick email—to cover any potential delay. This is a perfect example where you can see the advantages of email marketing in action.
Will Adding a Calendar Slow Down My Website?
A very fair question. We all know how much page speed matters for both user experience and SEO. The good news is that the standard Google Calendar iFrame is incredibly lightweight and has a negligible impact on your site's loading time. The calendar content loads asynchronously from Google's own servers, meaning it won't stop the rest of your page from appearing.
That said, there are a couple of things to watch for:
- Third-Party Plugins: Some plugins that offer more advanced calendar features can be quite heavy, adding extra scripts that might bog your site down. It's always a good idea to run a page speed test after installing one.
- Too Many Calendars: While merging a few calendars is fine, trying to display a dozen or more in a single view might add a slight delay. For most situations, though, the impact is tiny.
For most people, sticking with the native iFrame is a perfectly safe and efficient choice.
At The Digital Marketing Toolbox, we're dedicated to helping you find the right tools to grow your business effectively. Discover and compare top-tier solutions for everything from SEO to social media management by visiting us at https://grow-your-biz.com.


